You took the lid off your toilet tank once, probably late at night with water hissing in the background, peered at the plastic machinery inside, and put the lid right back on. That’s a completely normal response. The inside of a toilet tank looks complicated, but it’s actually two simple devices doing one job each: a fill valve (also called a ballcock) that refills the tank with fresh water after every flush, and a flapper (or flush valve seal) that holds water in the tank until you pull the handle. When either one fails — or when the float that tells the fill valve to stop filling is set wrong — you get one of three symptoms: a toilet that runs constantly, a toilet that flushes by itself for no apparent reason (called a phantom flush or ghost flush), or a tank that takes five minutes to refill after every flush. The good news: all three are almost always caused by parts that cost under $20 and take under an hour to replace. This guide walks you through the diagnostic sequence in the right order so you don’t replace the wrong thing twice.
Why This Matters More Than a Dripping Faucet
Before the tools come out, let’s look at the stakes. The Environmental Protection Agency’s WaterSense program fact sheet on leak week estimates that a running toilet can waste 200 gallons of water per day — roughly the same as four loads of laundry run back-to-back. At the U.S. average residential water rate of approximately $0.006 per gallon in 2025–2026 (per EPA municipal water data), that’s $1.20 a day or about $438 per year for one continuously running toilet. A phantom flush that fires three times per night is quieter but still cycling 1.6–1.28 gallons (depending on whether you have a 1.6 gpf or HET 1.28 gpf model) each time. Consumer Reports’ guide to running toilets reinforces this: most toilet leaks are silent, often discovered only on a water bill that jumped $30–$60 overnight.
By the numbers:
- Flapper replacement (most common fix): $5–$15 in parts, ~20 minutes
- Fill valve replacement: $10–$20 in parts, ~40 minutes
- Float adjustment only: $0, ~5 minutes
- Plumber service call, if you skip DIY: $150–$350 for a repair a $12 part solves
Step 1: The Four-Question Diagnosis Before You Touch Anything
This Old House’s repair guide and Bob Vila’s fill-valve replacement walkthrough both emphasize the same thing: touch nothing until you’ve diagnosed which of the three failure modes you actually have. The internal components interact, and replacing a flapper when your real problem is a miscalibrated float wastes both time and the part.
Take the lid off the tank. Watch for 60 seconds. Answer these four questions:
Q1 — Is water flowing into the overflow tube? The overflow tube is the tall vertical pipe in the center of the tank. If water is trickling or pouring into it, your float is set too high, telling the fill valve to keep adding water past the “full” line. The tank overflows into the bowl continuously. This looks and sounds exactly like a running toilet caused by a bad flapper — but the fix is completely different. Before you buy anything, try this: with the water on, gently lift the float ball (on older ballcock designs) or twist the float cup adjustment collar (on modern fill valves like the Fluidmaster 400A) downward. If the running stops, you’ve solved it in 30 seconds at zero cost.
Q2 — Does the running stop when you hold the flapper down with your finger? Reach into the tank and press down firmly on the rubber flapper at the bottom. If the hissing stops immediately, the flapper is the culprit — it’s no longer sealing. This is the single most common toilet repair. Flappers degrade from chlorine and hard water; most last 4–8 years. Apartment Therapy’s breakdown of common toilet problems notes that flapper failure accounts for roughly 60–70% of running-toilet complaints.
Q3 — Does the fill valve keep cycling on and off even with a perfect flapper seal? If you replaced or confirmed the flapper is sealing, but the fill valve still kicks on every 15–30 minutes to top off the tank, you have a slow leak through the flapper (confirmed by the dye test below) or a fill valve that’s lost its internal seal. This is the phantom flush — a tank that silently loses water, drops below the float trigger point, and calls for a refill.
Q4 — Does the tank take more than 3 minutes to refill? Normal refill on a 1.6 gpf toilet at standard 45–80 PSI line pressure takes roughly 60–90 seconds. If yours drags past 3 minutes, you likely have a partially clogged or worn fill valve. Mineral deposits inside the valve cap are the usual cause in hard-water areas.
The dye test (for phantom flush diagnosis): Drop a dye tablet (or a few drops of food coloring) into the tank. Don’t flush. Wait 15 minutes. If color appears in the bowl without flushing, water is leaking through the flapper. This is the go/no-go test before buying parts.
Step 2: The Repair Sequence — Flapper First, Fill Valve Second
Flapper Replacement (Most Likely Fix)
The flapper is a rubber disc that lifts when you flush and drops back to seal the tank opening. Replacing it is the highest-probability repair for both constant running and phantom flush. Fluidmaster’s product installation sheets and reviews aggregated across plumbing supply retailers consistently point to two replacement categories: universal flappers (Fluidmaster 502, Korky 100BP) that fit most 2-inch flush valve seats, and branded seat-specific flappers for proprietary flush valve designs.
This is where people lose money on returns: not all flappers are universal. Kohler Class Five flush valves, American Standard’s 3-inch flush valve (used on Champion 4 models), and Toto’s Tornado Flush system all require brand-specific flappers. Check the inside of your tank lid — most manufacturers stamp the model number there. If your toilet is a Kohler, American Standard, or Toto from the last 15 years, buy the OEM flapper, not a universal. The OEM costs $3–$5 more and saves a second trip to the hardware store.
Replacement takes four steps:
- Shut the water supply valve (the oval-handled valve on the wall behind the toilet, clockwise to close).
- Flush to empty the tank.
- Unhook the old flapper’s ears from the pegs on either side of the flush valve, and disconnect the chain from the flush handle arm.
- Snap the new flapper’s ears onto the pegs, reconnect the chain with 1/2 inch of slack (too tight = flapper won’t seal; too loose = flapper won’t lift fully), and turn the water back on.
The chain slack adjustment is where first-timers get tripped up. Per Fluidmaster’s installation guidance, you want the chain taut enough to lift the flapper fully on a flush but with just enough slack that it lays flat and doesn’t get trapped under the flapper when it closes. Test five flushes before replacing the lid.
Fill Valve Replacement (Second-Most-Likely Fix)
If the flapper dye test came back clean (no color in the bowl) but the toilet still runs, or if refill is slow and you’ve verified line pressure is adequate, the fill valve needs replacement. The Fluidmaster 400A (standard flow) and 400H (high-performance, faster fill) are the industry workhorses — they’re compatible with virtually every toilet on the market with a standard 2-inch shank opening and are designed to adjust height from approximately 9 to 14 inches to fit most tank depths. Bob Vila’s fill-valve guide walks through the same installation sequence for both.
Replacement takes six steps:
- Shut supply valve, flush to drain tank, then use a sponge or towel to remove the remaining inch of water at the bottom.
- Disconnect the supply line from the bottom of the tank (have a small bucket — there will be a cup or two of residual water).
- Unscrew the locknut on the underside of the tank holding the old fill valve in place (hand-tight, or channel-lock pliers if mineral-bonded — turn counterclockwise from below).
- Pull the old fill valve out. Note the height of the old valve and pre-set the new one to match before inserting.
- Insert the new fill valve, hand-tighten the locknut from below (do not overtighten — the shank is plastic and cracks), reconnect the supply line.
- Turn water on slowly, adjust the float arm or adjustment screw to fill 1 inch below the top of the overflow tube, confirm the refill tube feeds into the overflow tube (not hanging free, which causes gurgling).
Critical detail: the refill tube — the small flexible tube that runs from the fill valve to the overflow tube — must be clipped to the overflow tube and angled into it, not submerged below the water line. A submerged refill tube creates a siphon and can slowly drain the tank between flushes, causing phantom flushes that a new fill valve won’t fix. This is a missed detail in many basic guides.
Step 3: When the DIY Sequence Doesn’t Solve It
If you’ve replaced both flapper and fill valve, adjusted the float, confirmed chain slack, and oriented the refill tube correctly — and the toilet still runs — you’re looking at one of three less common causes:
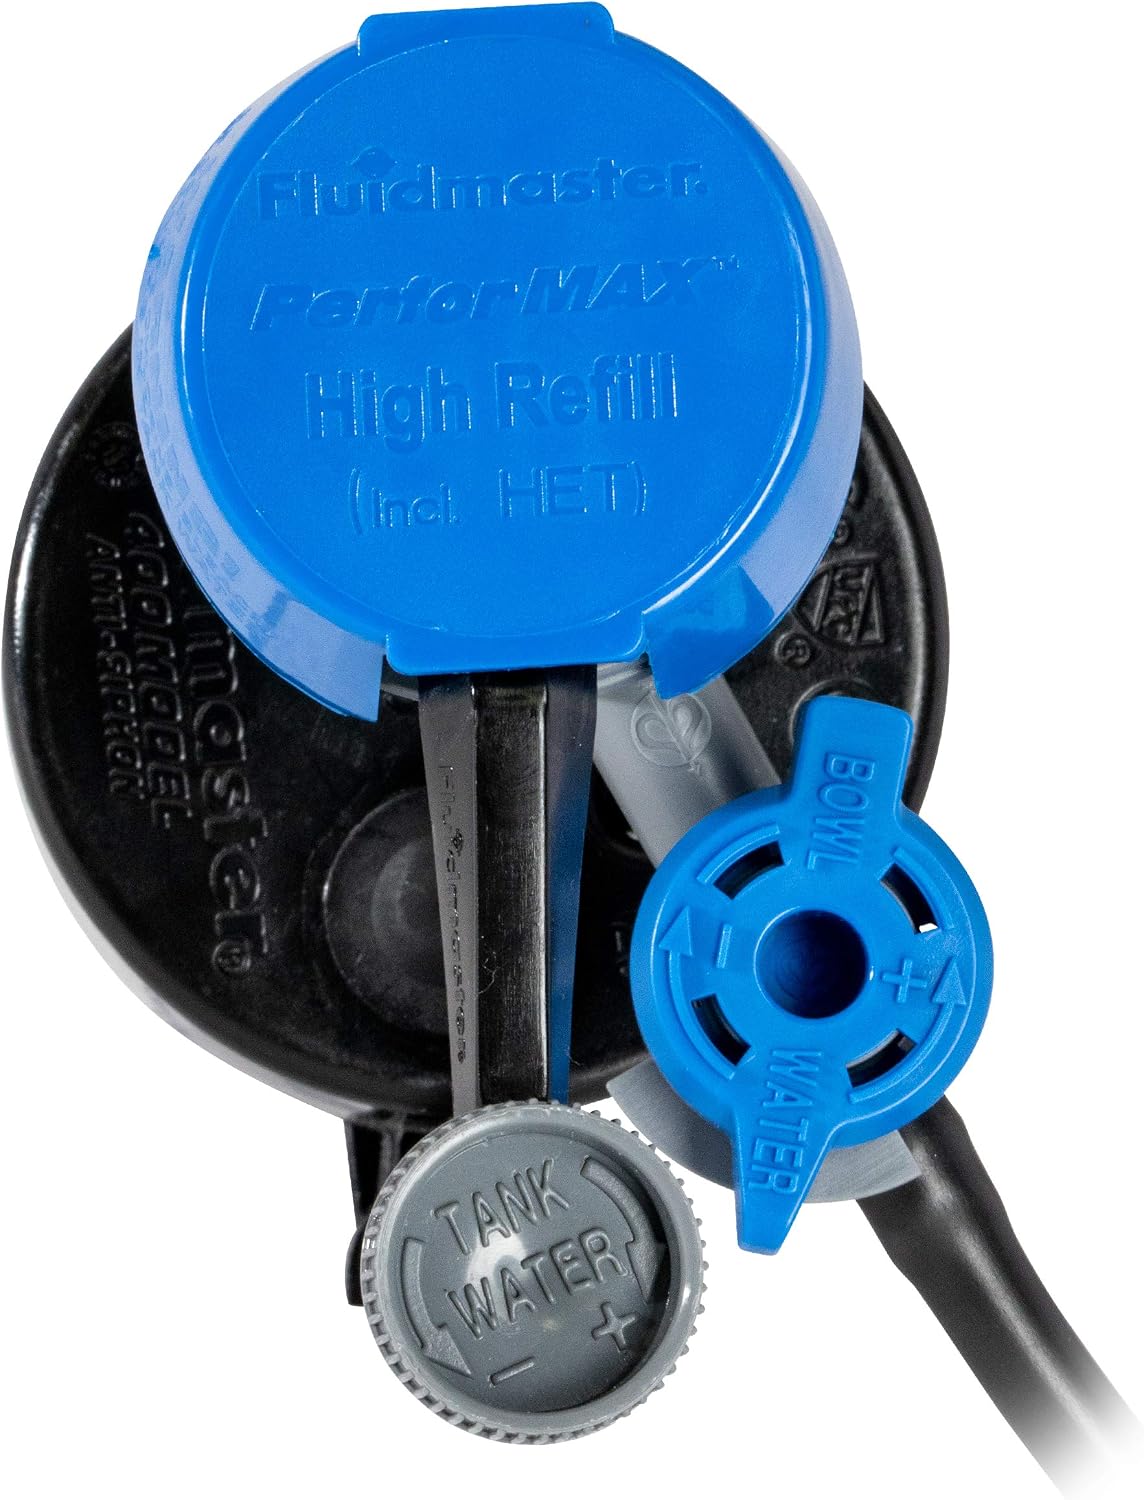
- Cracked flush valve seat: The porcelain or plastic ring the flapper seals against has mineral pitting or a crack. You’ll feel it with your fingertip. This requires either a complete flush valve replacement (a bigger job involving draining and tilting the tank) or a seat repair kit like the Fluidmaster PerforMAX. Both are doable DIY but cross into the next difficulty tier.
- Supply line or shut-off valve seeping: The water source side is the problem, not the tank internals. Check the supply line braided hose and the valve body for moisture.
- Float calibration drift on pressure-assist toilets: Sloan Flushmate and similar pressure-assist systems (found in some American Standard and Gerber models) operate differently from gravity tanks. If you have a pressure-assist toilet, the repair logic above does not apply — those systems require a pressure vessel check and specific OEM parts.
Consumer Reports’ plumbing guidance recommends calling a licensed plumber if visible corrosion is present on the shut-off valve or if the toilet is more than 25 years old with original internals — at that age, the shut-off valve itself may fail when you turn it to begin the repair, which escalates the job significantly.
The Decision Rule
Here’s the if/then framework:
- If water is flowing into the overflow tube → adjust float first, buy nothing yet.
- If dye test shows color in the bowl → replace flapper; buy OEM if the toilet is Kohler, Toto, or American Standard with a 3-inch valve.
- If dye test is clean but phantom flush persists, or refill is slow → replace fill valve; Fluidmaster 400A or 400H fits most tanks and is the part owners and plumbers reach for first.
- If both parts are replaced and running continues → inspect the flush valve seat and shut-off valve before calling a plumber; describe both findings when you call.
- If it’s a pressure-assist system → skip this guide and call the manufacturer’s support line or a licensed plumber familiar with Flushmate systems.
The parts cost $12–$30 total. The tools you need are already in your kitchen junk drawer (adjustable pliers, sponge, bucket). Most people fix this in the time it takes to find a plumber online.